If web pages or videos take ages to load, you may want to know how to check the internet speed on your Macbook.
I have run into slow internet issues on my Macbook Pro and found that there are several ways to test your internet connection.
Method 1: Use Terminal
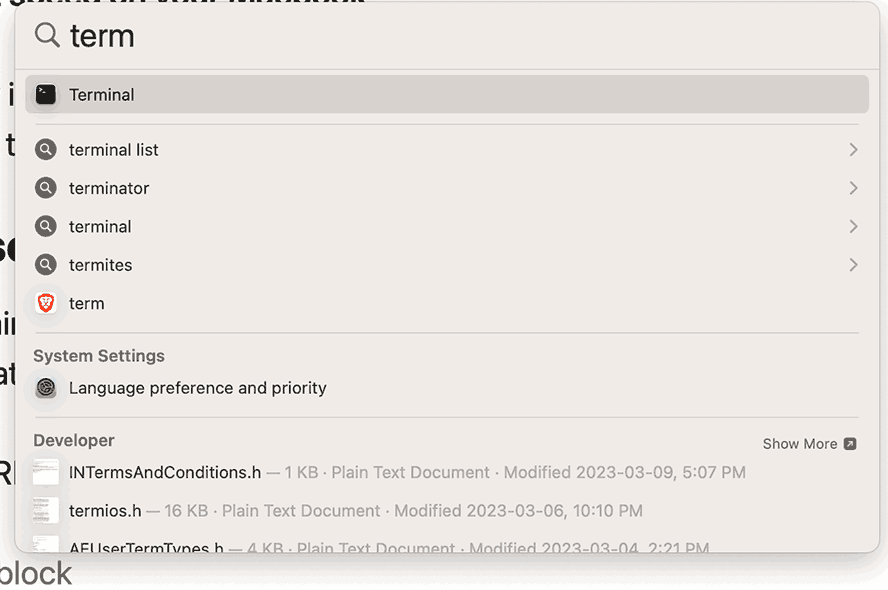
To access the Terminal, press COMMAND + SPACEBAR to bring up the spotlight search feature.
You can type in TERMINAL and then open the application.
The terminal will open, and you will see a basic command line text GUI.
Type in “NetworkQuality” and hit ENTER to run a local internet speed test of your connection.

You will now see that the terminal performs the test and outputs the results.
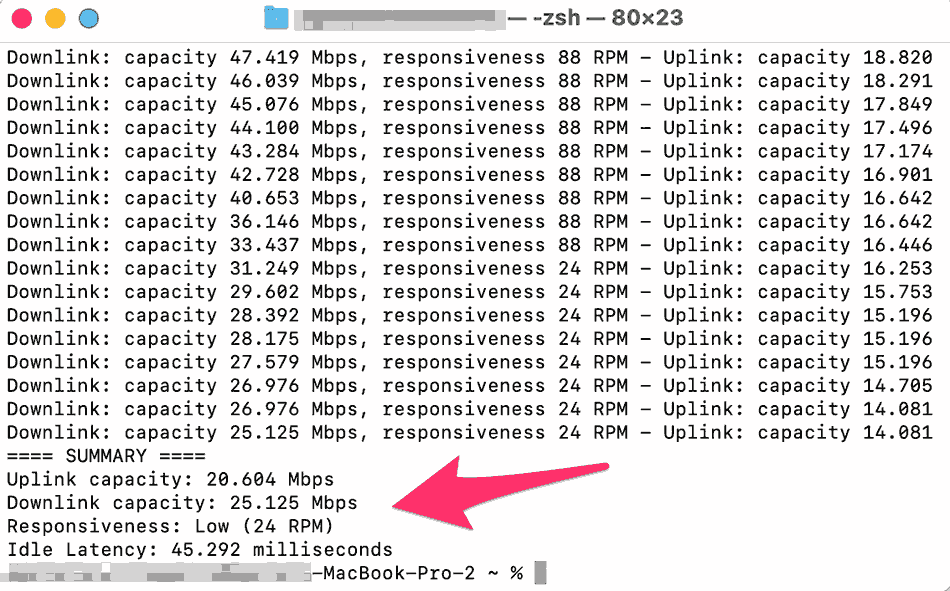
As you can see – my internet speed test results are pretty poor as I am currently troubleshooting some issues with my M1 MacBook regarding slow WiFi.
Apple has advised the following:
Apple Support – Network Testing
- Low: If any device on the same network is, for example, downloading a movie or backing up photos to iCloud, the connection in some apps or services might be unreliable, like during FaceTime video calls or gaming.
- Medium: When multiple devices or apps are sharing the network, you might see momentary pauses or freezes, like during FaceTime audio or video calls.
- High: Regardless of the number of devices and apps sharing the network, apps and services should maintain good connection.
The terminal test is a super quick and effective tool to check the internet speed on your Macbook.
Method 2: Use your web browser
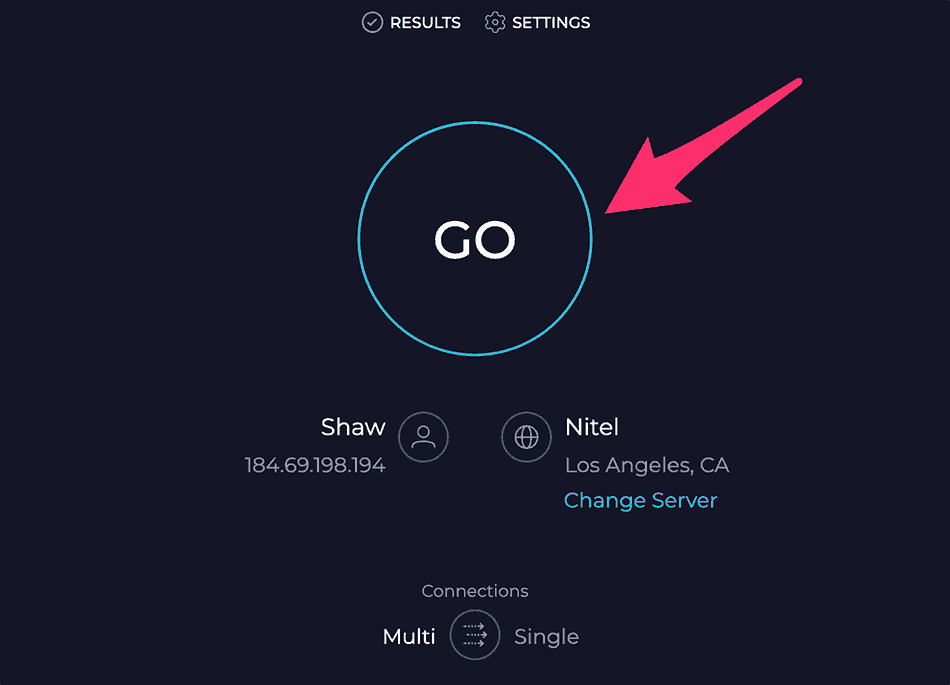
You can head to the SpeedTest website and quickly run an internet speed test on your web browser.
Now all that you need to do is hit the GO button.
Once you have pressed GO, the SpeedTest tool will run an internet connectivity test on your MacBook and display the results as shown in the image below.
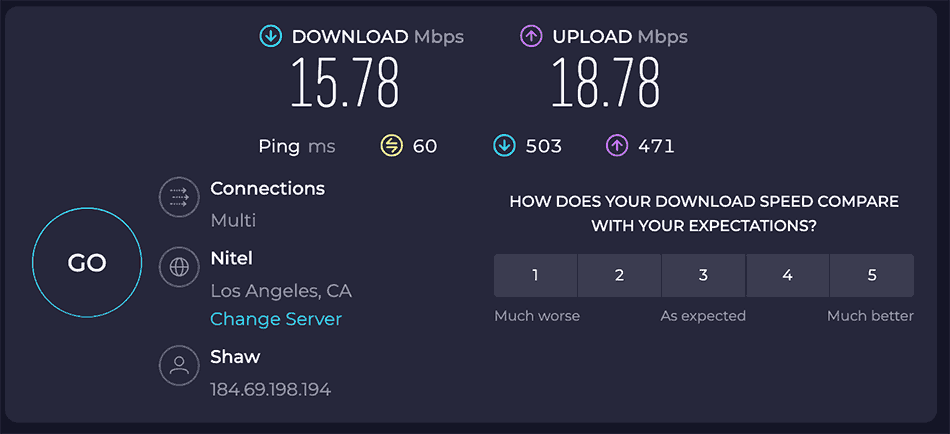
This is the results page.
My results are unusual as I am trying to resolve internet connectivity issues with my Macbook.
How to resolve internet speed issues on your Macbook
Step 1: Restart your router
Most internet speed issues will originate from your router powering your home internet network.
You should unplug your router for 30 seconds before plugin it back in.
This will force a new internet connection to be established with your MacBook laptop.
You should rerun the tests listed above to see if there is an improvement.
Step 2: Restart your MacBook
If the restart of your router has not resolved your internet speed issues on your MacBook, you should fully restart your laptop.
Restarting your MacBook will allow applications or updates to fully install and reestablish a new internet connection with your router.
It can also help eradicate any software conflicts that may have been hindering your download speeds.
Step 3: Check Wireless diagnostics
Checking the Wireless diagnostics tool is worthwhile if you use a WiFi connection on your MacBook.
Press COMMAND + SPACEBAR and type in “Wireless Diagnostics”
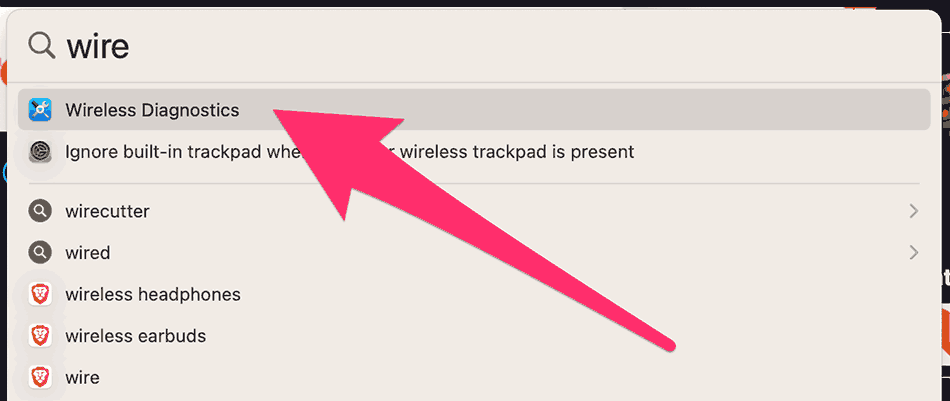
Now you will see the Wireless Diagnostic tool.
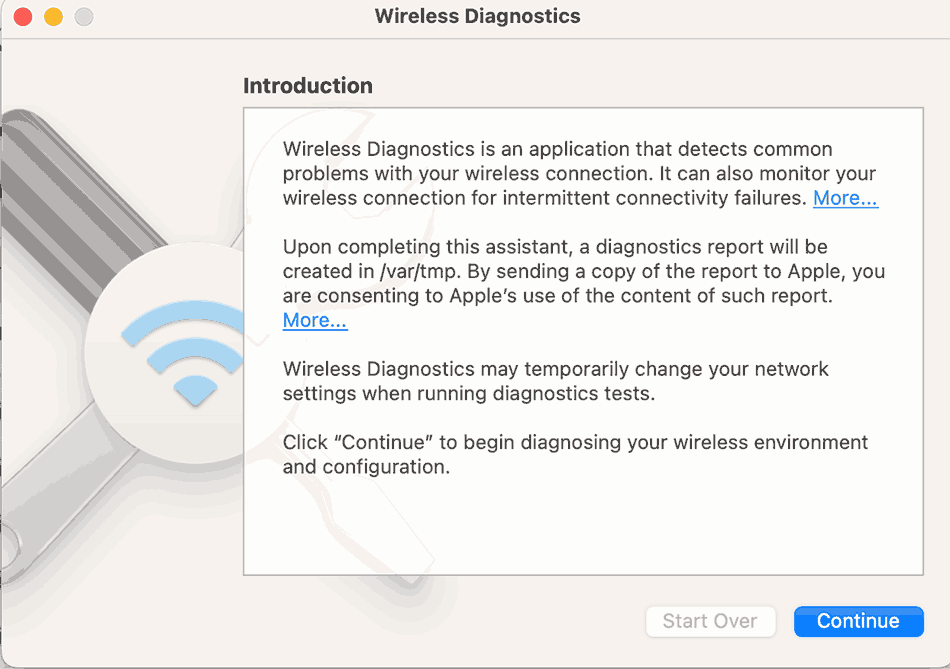
What is the Wireless Diagnostics tool?
Wireless Diagnostics is an application that detects common problems with your wireless connection. It can also monitor your wireless connection for intermittent connectivity failures.
Apple Mac OS
When you hit CONTINUE, it will then analyze your wireless network.
If there is an issue, it will display what it has found and the steps you can take to fix the problem affecting your MacBook’s internet speed.

Step 4: Follow MacOS WiFI best practices
Upon completing the Wireless Diagnostic tests, you can access some best Wi-Fi practices for your MacBook.
Review Wi-Fi Best Practices
Configure your Wi-Fi network to use a unique network name
This will ensure that your network will not conflict with the names of other nearby Wi-Fi networks, which may prevent your Mac from automatically re-joining a previously joined Wi-Fi network.
Configure your Wi-Fi network to NOT use a hidden network name
Hidden networks do not provide any additional security, and can result in performance and reliability issues for their wireless clients.
Configure your Wi-Fi network to use WPA2 Personal security
WPA2 Personal is currently the strongest form of security offered by Wi-Fi products, and is recommended for all uses. If you have older Wi-Fi devices on your network that don’t support WPA2 Personal, a good second choice is WPA/WPA2 Mode (often referred to as WPA Mixed Mode).
Configure your Wi-Fi network to use a strong password
When configuring the password for your Wi-Fi network, be sure to select a strong password that cannot be guessed by third parties.
Configure your Wi-Fi network to use 5GHz
The 5GHz band provides much more available bandwidth for Wi-Fi networks than the 2.4GHz band, and typically is less susceptible to interference from other appliances and wireless devices. Alternatively, consider using a dual-band wireless router.
Configure your Wi-Fi network channel to “Automatic”
For best performance, choose “Automatic” mode to let the Wi-Fi router select the best channel. If this mode is not supported by your Wi-Fi router, you will need to manually select a channel.
MacOS – Wi-Fi best practices
Step 5: Check for software updates
Keeping your MacBook updated with the latest MacOS can help prevent internet connectivity issues.
To see if an update is available, press COMMAND + SPACEBAR and type “Software Updates” into the spotlight search.
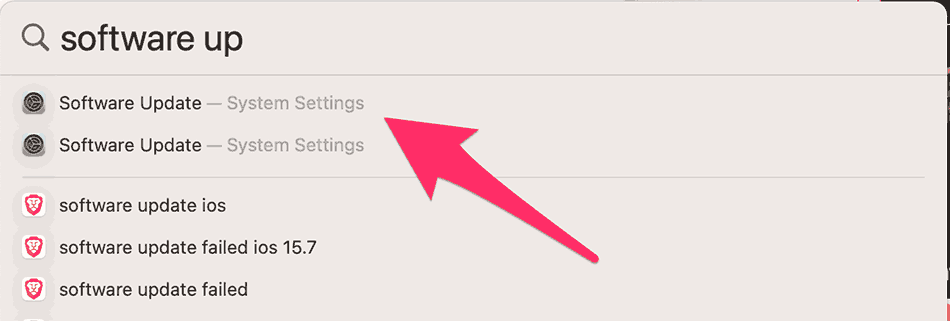
Now you should see the Software Update menu and accompanying settings.
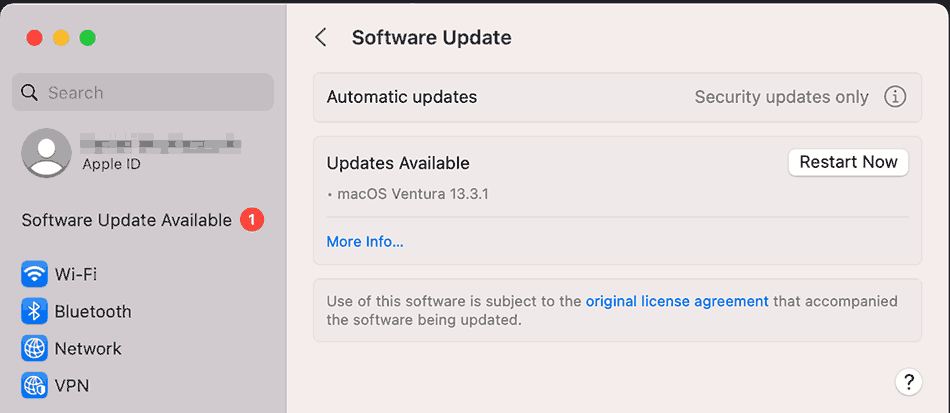
In the example above, you can see a software update available.
You can also set whether or not you wish to receive automatic updates and when those automatically should be applied.
Conclusion
If you were wondering How to check the internet speed on MacBook, we hope you can easily use the terminal tool or your web browser.
When your internet speed is slow, you may need to undertake several troubleshooting steps to try and resolve the issue.